Access your mobile payments anytime, anywhere
How the merchant portal works
The Merchant Portal is a self-service platform that allows merchants to track their incoming transactions, export their transaction history and manage their general merchant account.
Get started with the merchant portal
You’ll receive an activation e-mail. In it, click on 'Set password'
In the activation email sent to the email address you provided in your Payconiq contract, click on the "set password" link. You will then be redirected to the Merchant Portal website.

Didn't receive an activation email? Go to merchant-portal.bancontact.net and click on "forgot password". If you still don't receive an email, contact our Support-team.
Select a password in the merchant portal
At least 10 characters long, minimum one capital letter, one number and one special character (+, -*?).
Make an initial test payment yourself using a payment app
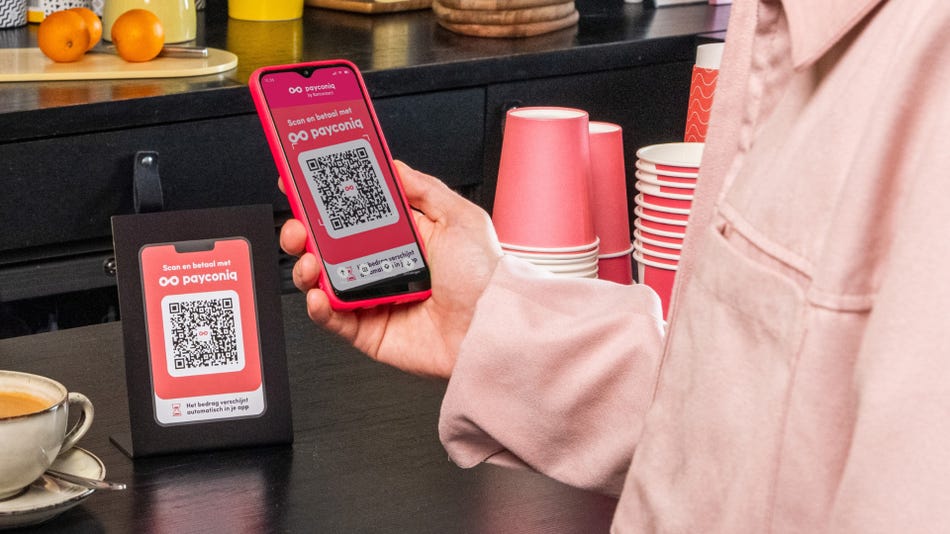
You will see the transaction appear immediately on the “Transaction list” page. Don't have a mobile payment app on your smartphone yet? Install the Payconiq by Bancontact app
Transaction list
Here you can see the details of all transactions from the past month. You can easily set a start and end date to view transactions from a specific period within the past month.
Do you have multiple shops/payment points or do you use different payment products? At the top of the page, you can select each shop or product for which you want to view incoming transactions.

Download transactions
Transactions older than one month can be downloaded using the 'Export transactions' option at the bottom of this page. This is possible for all transactions from the last 18 months.
You can request specific transactions within a certain start and end date. Would you like to see only the transactions from one shop or a specific product? Then first select the correct profile at the top of the page.
Transaction summary
Get an instant overview of the total amount you have received through your mobile payment solution. This is handy for closing the day! You can view totals for today, this week, this month or the past year.

Inbox
All your incoming messages will appear here. These may include important information about your payment solution, information about your merchant account, or when you need to take a specific action. Keep a close eye on this inbox.

Help and Support
On this page, you can consult our user guides and FAQs and contact our Support team directly. By contacting our team in this way, we automatically receive your information, enabling us to assist you as quickly and effectively as possible.

Shops and products
This page provides an overview of all shops/payment points and payment products within your organisation. You can also edit your current shops or products and create new ones. You can search for a shop or product by name or location.
Shops
You can change the name, website and address for each shop, and view an overview of all products and transactions made by that shop in the past year. You can also add new products to each shop.

Products
There are different types of products you can add to your shop(s): ready-to-use solutions and integrated solutions.
- The following products are available for immediate use without technical integration: Go, Classic sticker and Predefined sticker.
- The following products require technical integration: On display, On receipt, Static sticker and Top up.
For each existing product in your merchant account, you can change the name and payment IBAN. Please note that if you change the payment IBAN for a product, the new IBAN must be verified first.
QR codes
On this page, you can generate QR codes for your physical sticker solution(s), such as a “Classic Sticker” (the payer enters the amount themselves) and a “Pre-Defined QR” (stickers with a fixed amount).
Select your shop and product, choose the format (SVG or PNG) and size (S, M, L, XL) of the sticker, and add a reference and description. Click on “Generate QR code”, download the QR code and print it out. Place the code in your payment environment and you are ready to receive mobile payments via your sticker.

User management
Within the merchant portal, you can grant access to multiple users. On this page, you can add, edit or delete user profiles.
Add additional users
Click on “+ Add” in the top right-hand corner to grant additional people access to your merchant account. You can assign each user one of three different roles:
- Administrator: has full, unlimited access to the merchant portal and is considered the representative of the merchant account. All actions performed by an administrator are binding (e.g. creating products, IBAN updates, etc.).
- Operational user: has access to the transaction list, transaction overview and QR codes. He/she also has access to the Support team and the inbox.
- Financial user: has the same access as an operational user (with the exception of creating QR codes) and with additional access to invoices and credit notes.
New users receive an invitation email that allows them to create a user profile. You can resend this email via the merchant portal.
User overview
The user overview shows you who has access to the portal. Clicking on a user displays all their information: personal details, their role within the merchant account, an overview of all assigned shops, and the status of their user profile.
Users who have been added and have logged into the portal have an 'active' status (green tick).
If you have added a user who has not yet logged in, they will have a 'pending' status (clock icon). Perhaps they did not receive the email to set a password? You can resend the invitation email yourself by clicking on 'Resend invitation email' (via the three dots to the right of the user).

Modify or delete users
To modify an employee's profile, click on the three dots next to the user profile and select ‘Edit user’ to modify the user's details, language and role. Please note that a user's email address cannot be modified; to do so, you must create a new user.
Would you like to temporarily block a user? Simply click on “Block user” (via the three dots to the right of the user). The user will then have a "blocked" status (red) and can be reactivated if needed.
Would you like to delete a user because they no longer need access? Then click on “Delete user” (via the three dots to the right of the user).
Merchant account
On this page, you will find an overview of all information about your merchant account. You can find your Merchant ID and view and edit all company information. Here you will also see an overview of all users within your account.

Billing details
Here you will find an overview of all your billing details, including the contact details of the person responsible for billing within your merchant account, as well as the account number for billing.
You can edit these details yourself. Please note that to change your billing IBAN, you must complete a SEPA mandate. You can download the relevant form and upload it once completed on the billing page.

Settings
You can select the language at the top right of the merchant portal: Dutch, French or English.
You can also add a logo or image to your profile. To do this, click on the edit icon next to your profile photo at the top left of the page.
You can also choose to play a sound every time a new, successful transaction is made. To activate this feature, select the 'Notification sounds' option at the bottom left of the page.
